Step 1 ⇒ Prepare Your Computer
This video offers an option to set up your filing system. We recommend keeping client's personal information (Name, Address & Contact Info) exclusively on your local machine and not in the Portal. Details used in the Portal are minimal, secure and should reference locally stored private data.
Step 2 ⇒ Access a Microphone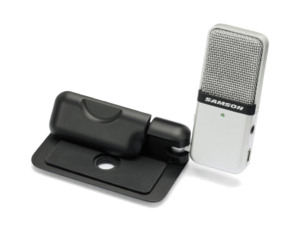
Sound Health recommends a number of microphones for capturing a quality voice print. Click the "Shop" button to view a selection of approved budget oriented microphones.
The Samson Go Mic is a popular choice.
Step 3 ⇒ Capturing Quality Voice Recordings
GIGO: Garbage in, garbage out.
The microphone is the most variable and critical link between the voice and your final results.
This video shows you how to capture the best possible voice sample.
Step 4 ⇒ Preparing Voice Files for Upload
Use Audacity® a free audio recording and editing program to create audio files for Portal upload.
During every recording session, capture enough audio to produce two (2) 30 second voice files:
- Mundane: The person talks about anything that comes to mind.
- Health: The person speaks specifically about their symptoms or health complaints.
An Overview of the Portal
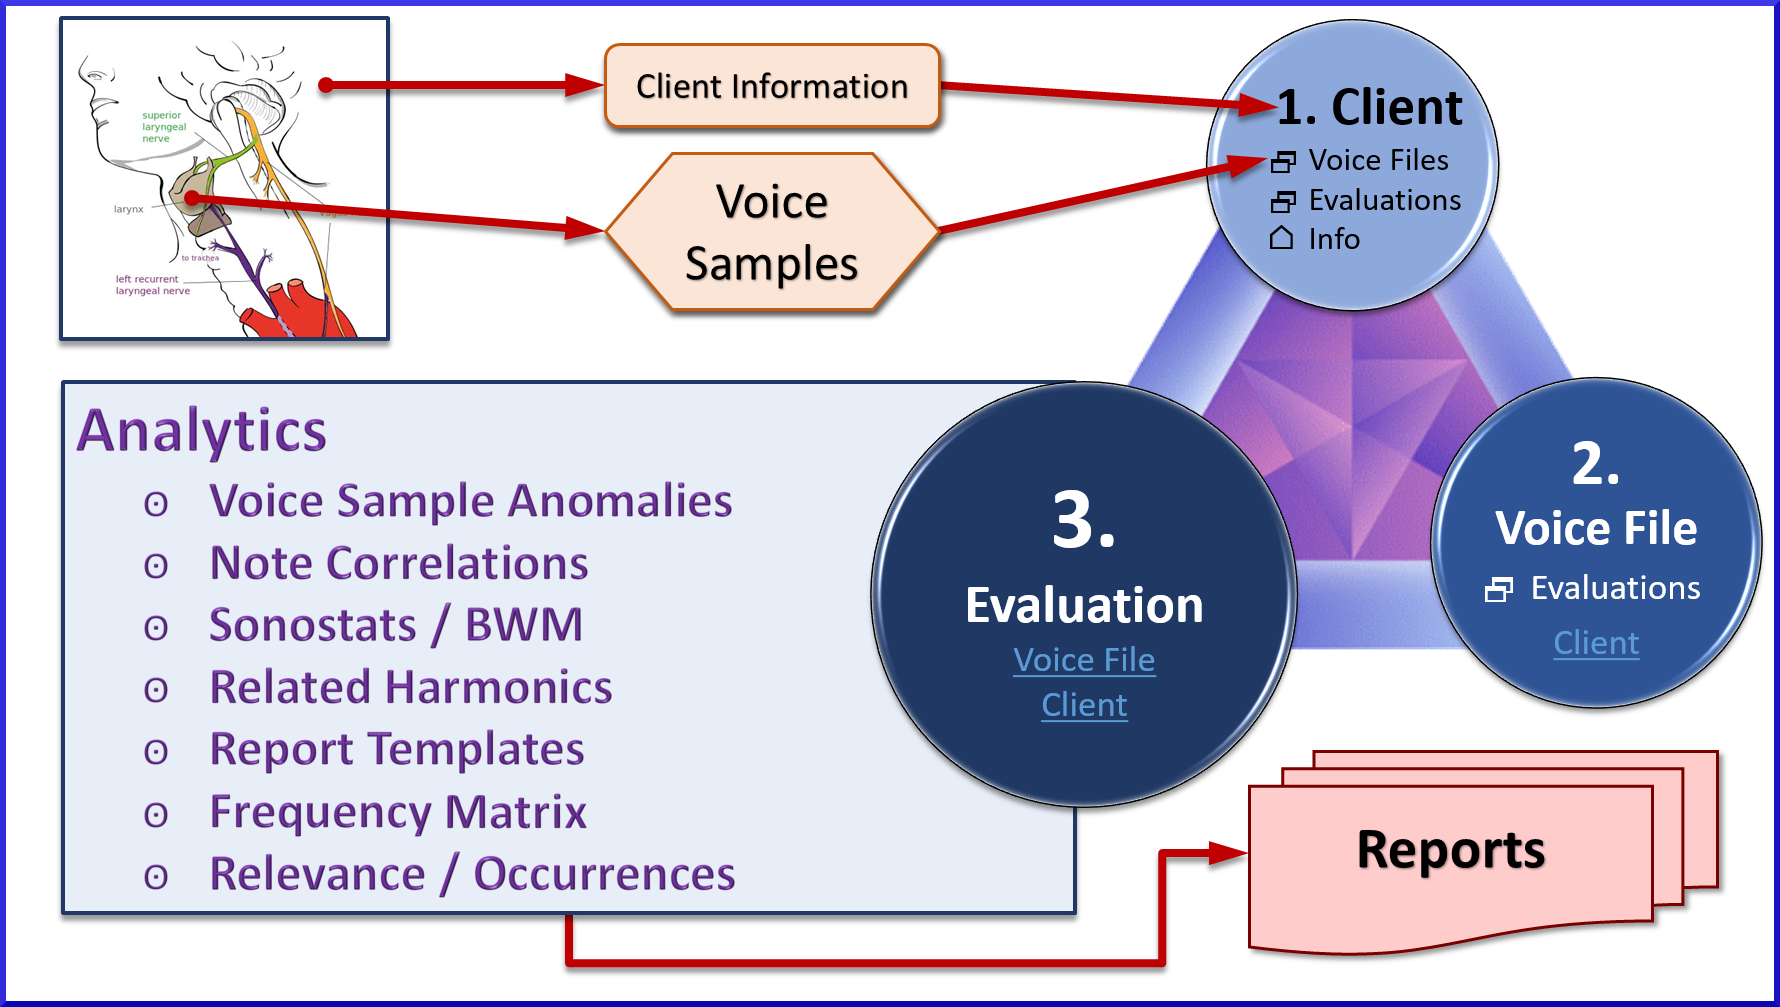
This video presents a flow chart of how things get done in the Portal.
Click the image for reference ⇒
"Client" Page Functions
These Videos give an overview of what is available on the landing page and what you can do.
When logging in, you land on the "Client" page showing your list of client folders.
"Evaluations" Page Functions
Overview of what is available on the Evaluations page and what you can do.
All of your evaluations are listed on this page.
Step 5 ⇒ Creating a Client Folder
This video shows the simple step-by-step process of creating a new Client folder.
Client Folder Functions
This video shows the functions available to you in the client's folder.
Within the client's folder are three Tabs: "Voice Files", "Evaluations", and "Info".
Client's "Voice Files" Tab Functions
This video shows the functions available on the "Voice Files" tab.
Client's "Evaluations" & "Info" Tabs
This video shows the functions available on the "Evaluations" and "Info" tabs.
Step 6 ⇒ Uploading Voice Files
This video shows the simple step-by-step process of uploading voice files.
Step 7 ⇒ Creating Evaluations
This video shows the simple step-by-step process of creating evaluations.
Evaluation Functions (Part 1)
This video shows a portion of the many features used during evaluations including:
- Selecting a Template and Pulling Points
- "Wave" Tab manipulation
- "GNS" Tab details
Evaluation Functions (Part 2)
This video shows features used during evaluations on the Frequency Hits ("Freq Hits") Tab.
Step 8 ⇒ Creating Reports
This video shows how to export client reports for storage in your local machine.
Step 9 ⇒ Biomarkers
These videos cover how to use Biomarkers to uncover hidden trends.
